A heating coil is an important device that converts the electric current into heat energy. These are usually utilized in electrical stoves and ovens, water heaters and other equipments that needs that uses electricity to produce heat. Electric hot water heaters, for example, have two or more heating coils and each of these are controlled by either a thermostat or an independent temperature controller. As you continually use the furnace, water minerals will eventually wear away the heating coil and cause it to eventually fail.
Thus, you may have to replace the heating coil of your furnace. This article will guide you on how to do this and it may take around one hour to do this. Patience as they say is a gift so don’t get too rash in doing this.
Step 1 – Uncovering the Heating Element
Make sure to turn off the electricity to the furnace before doing any work with the furnace. Turn off the two-pole circuit breaker or just simply pull the two fuses of the power source of your furnace.
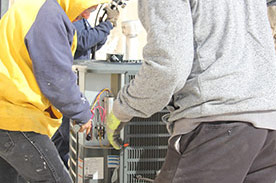
Now use the screwdriver to remove the external metal cover that hides the heating coil to be replaced. Remove the screw located on top of the furnace cover and pull out the cover from its shell. Also take out the small insulation covering which shields the heating coil. Draw away the plastic cover that protects the heating coil’s terminal screws, be very careful and do not let your fingers touch the screws.
Step 2 – Testing and Draining the Furnace
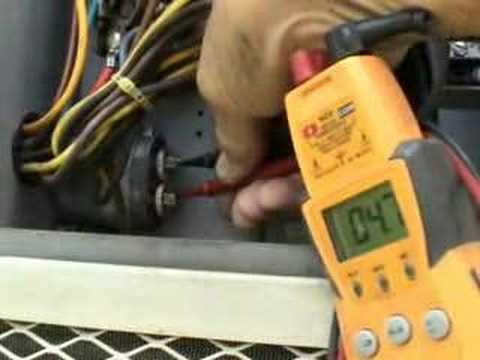
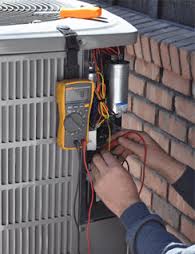
Using the neon light circuit tester, let its tips touch each of the terminal screws. If the light in the tester turns on then there is still electricity supplied. If this happens, double check the breaker to the furnace. Consider turning off power to the entire house if necessary. Once the circuit tests as off, use the screwdriver in removing the two wires away from its screw terminals.
Close the valve that supplies water to the furnace and attach the garden hose to the drainage valve. Run the water outside or into a bucket or sink, but make sure the hose is level or going down from the valve so that the water will run out. Open the drainage valve and drain the tank.
Step 3 –Installing the New Heating Coil
After draining the furnace of water, you may now remove the heating coil. Depending on how it is attached, you may use the ratchet to help you pull out the element from the tank. Attach the new heating coil into the water tank and make sure that the rubber gasket is properly positioned around the metal flange. Keep the new heating coil in place by returning the screws, or screwing it clockwise to how it was originally positioned and tighten it to keep it safe.
Step 4 –Finishing the Process
Return the electrical wires to the screw terminals, close the lower drain, close the hot water valve, and open the cold water valve to allow the tank to fill completely. Do check for any leaks surrounding the new heating coil. Replace the plastic insulator with a fiberglass insulation over it. Then replace the external cover. Remove the garden hose from the lower drain valve. Turn on the electrical power of the furnace as the last step.
Proceed to open the hot water spigot and make sure to get rid of excess air from the hot water tank before closing it. You may check on the furnace’s hot water production in an hour.